See Also
Replacing the Default SQL Server System Administration Account
The default system administrator account ("sa") is the first account that hackers will attempt to use to gain access to your data. If running SixBit on a standalone computer, or from the server where SQL Server is installed, Windows Authentication should be used to access that database. This is the safest method.
If sharing SixBit data across a local network or the internet, consider changing the system administrator account. Leaving it named "sa" will be easier for hackers to get in since all they will have to guess is your password. Changing the system administrator account will require you creating a new account, and then disabling the existing account.
Changing the System Administrator account will require SQL Server Management Studio which is not installed with SixBit by default. Refer to Installing SQL Server Management Studio for the installation steps.
To create a new system administrator account:
- Open SQL Server Management Studio from Start|All Programs|Microsoft SQL Server 2014.
- In the sidebar, expand Security, then Logins.
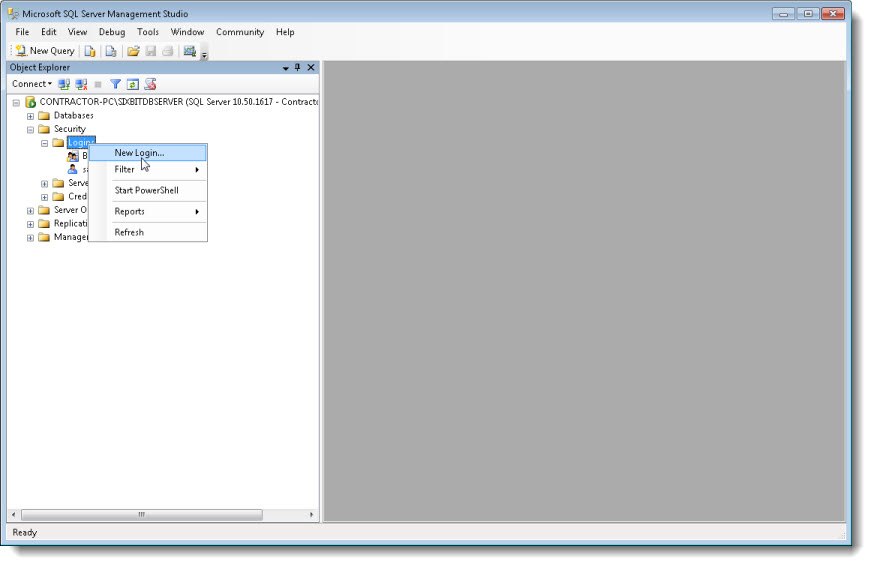
- Right click Logins and choose New Login...
-
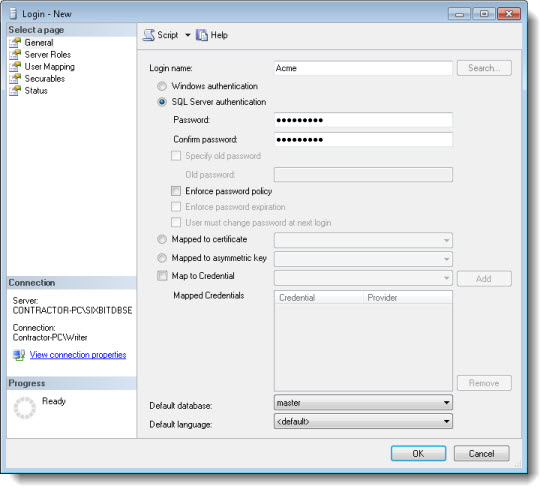
Enter a Login name.
-
Select SQL Server authentication and enter a Password, then enter the Confirm password. This is the password protecting the database so make sure it is a strong password and ensure you don't forget it.
-
Uncheck the Enforce password policy box.
-
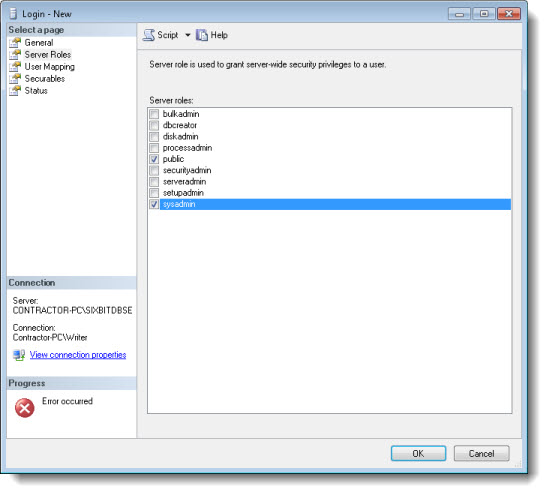
In the sidebar on the left, click Server Roles, then check the sysadmin box to give the user system administrator privileges. Click OK when finished.
-
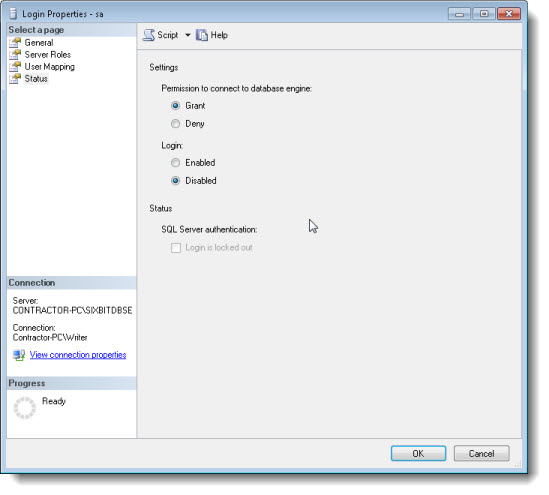
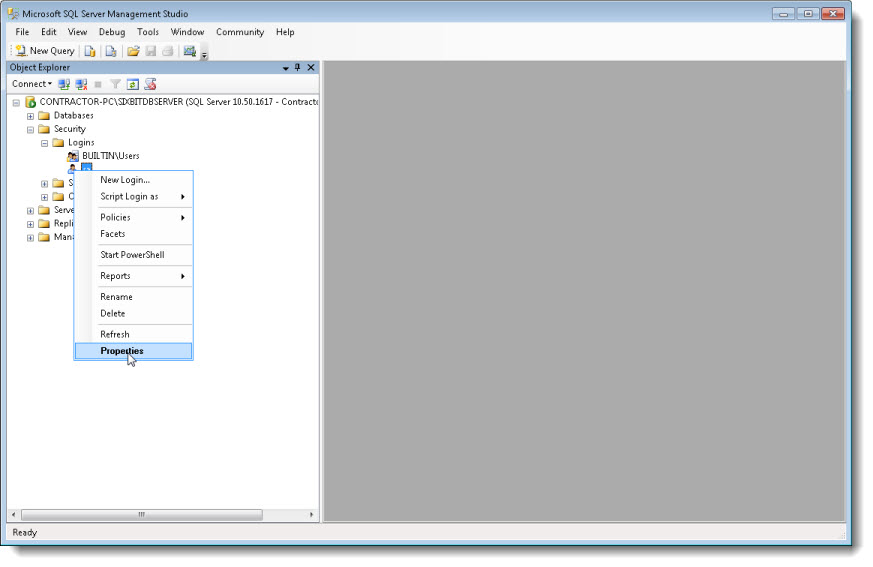
From the list of Logins, disable the sa login by right clicking the sa login and selecting Properties.
- Select Status in the sidebar and set the Login to Disabled. The sa account has now been disabled and there is a new system administrator account that can be used when connecting to the database. Click OK.