Printing Listing Labels
Placing a listing label on an item can make it easier to process sales. An listing label contains information such as the itemid, productid, sku, title, eCommerceID and barcodes to help easily identify, find and order records in SixBit. Listing labels are similar to inventory labels, but since they are printed from a listing, they can include information about the listing such as the eCommerceID or listing end date. See Barcode Scanners for more information on using barcode scanners with listing labels.
To print listing labels, define the printer to be used for the labels and print the labels from the Check Listings mode.
To customize listing labels, refer to Customizing Reports.
To specify a listing label printer:
- Open the SixBit Options window. How?How?
- Select the Reports tab on the left,
then the Listing Labels tab that appears
on the right.
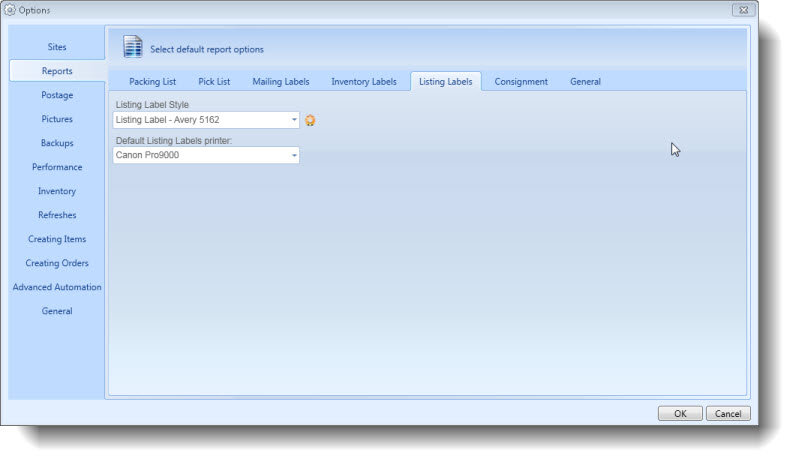
- Choose the Listing Label Style. Labels can be either single feed labels or sheet labels.
- Select the Default Listing Labels printer.
To print listing labels:
Open the Check Listings mode. How?How?
- Select all listings in the grid for which the labels will be printed.
- When printing on sheet labels (full sized pages with multiple labels on a sheet), there may be labels left over on a sheet from previous printings. To make use of the remaining labels, load the partial sheet into the printer and then specify the number of labels to be skipped in the Skip box under the Labels button. When not using sheet labels, leave this value at 0.
From the Reporting group in the ribbon bar, click the arrow beside the Labels icon, and choose Listing Labels or Listing Labels w/ Preview.
- The Report Viewer will appear if you chose to print with preview. Click the Print button to print the labels.